Before/After: Convert An Inflatable Tub Into A Year-Round Cold Plunge
An inflatable ice bath that only worked in summer becomes a year-round cold plunge in five moves – chiller, drain pump, thermometer, floor mat and spare filters.
Published October 10, 2026 · 5 picks
An inflatable cold tub is where a lot of home cold plunges start. It arrives in a box, stands up in ten minutes and, on a hot afternoon with a few bags of ice in it, does exactly what the video promised. Then the weather turns. The ice runs get old, the water sits, and by the first frost the tub is folded in the shed with a note to try again in spring.
That is the “before” this guide starts from. The “after” is the same tub, standing where it stood, used four or five mornings a week through the cold months – because the water holds the temperature you set, stays clean for weeks and can be changed in ten minutes without a bucket. Nothing here needs a plumber or a new tub. Five pieces of hardware do it, and each step below is built around the one that caused the change.
One note before you start: this guide picks no insulated cover. The lid your tub came with, put on after every plunge, is the cover – round insulated lids on amazon.com are made for one maker’s tub or cut for oval stock tanks, and a weather cover that is not insulated changes little. If your tub came without a lid, get the maker’s own before anything else here.
Before: the tub that only worked in July
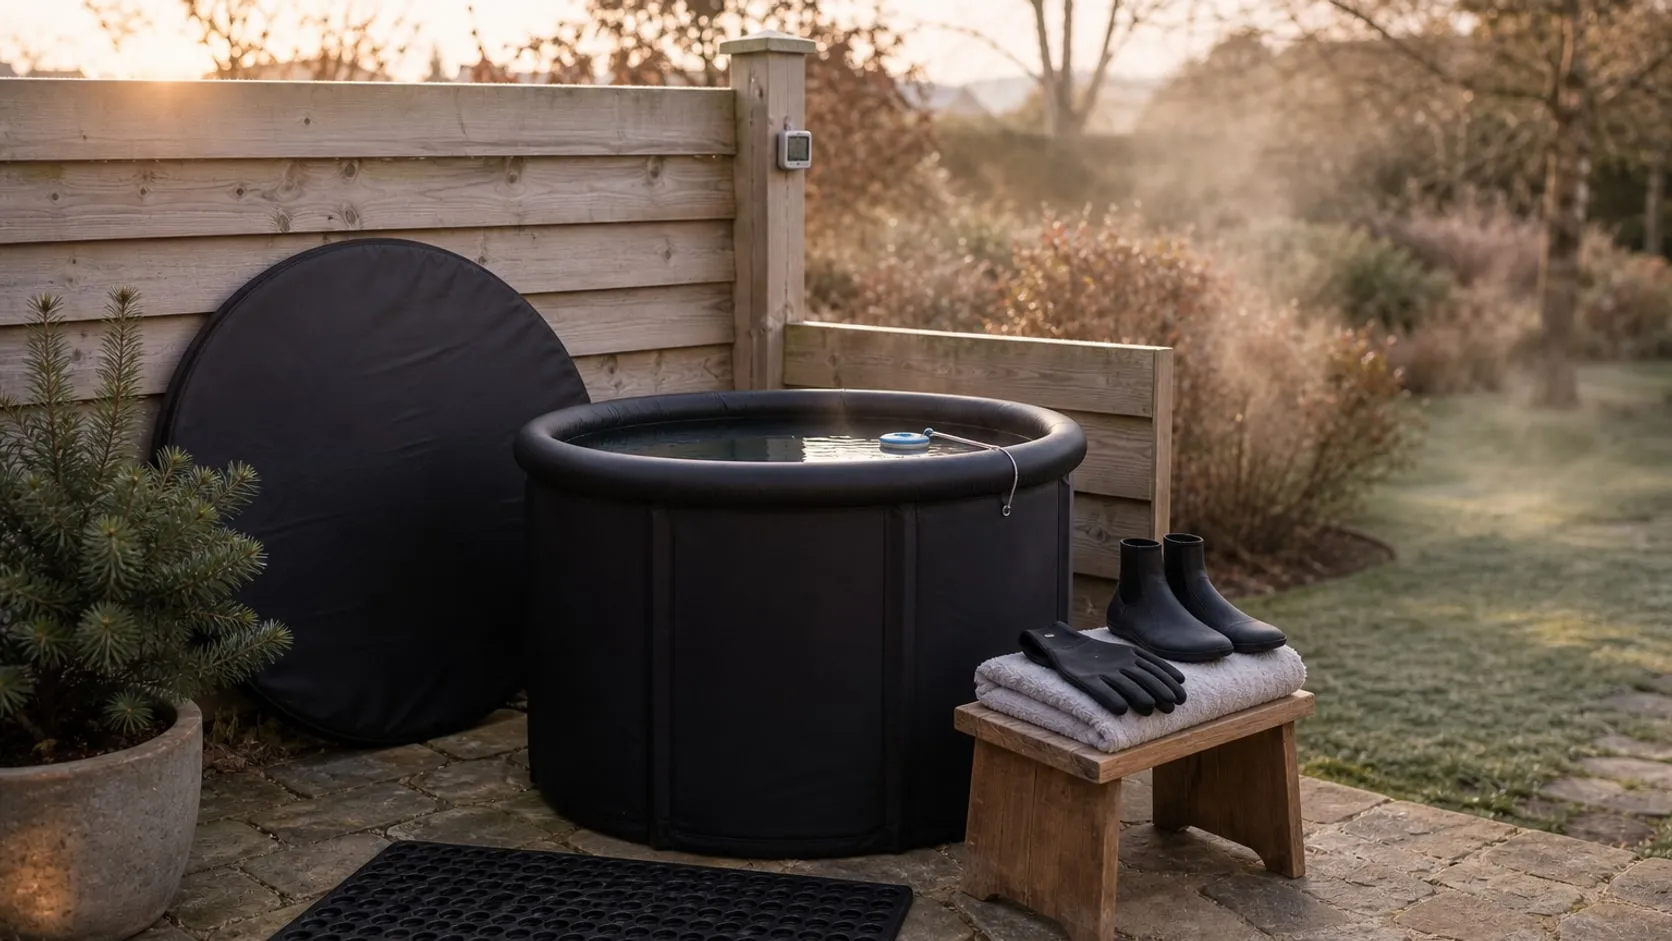
Walk out to the “before” tub in October. The water is cold enough now, which was the whole idea, but it has been sitting since the last ice run and the walls feel slick. Changing it means scooping, tipping or waiting an hour on the little drain valve and then dragging the hose, so it does not get changed. You check the temperature with a hand and guess. The garage floor has a dark ring where the cold wall sweats in damp air, and the puddle where you step out is ice on a bad morning. Every plunge is a decision – is the water fit, is it too cold, is there time – and by November the decision is usually no.
The tub is fine. It holds water and it holds cold. What it lacks is everything that makes a plunge a habit instead of an event: a set temperature, clean water, a number you can read, a dry floor and a water change that is not an afternoon. Here is what changes, and in what order.
Step 1 · Retire the ice
Before: bags of ice in summer, guesswork in fall, and water that is whatever temperature the weather left it.
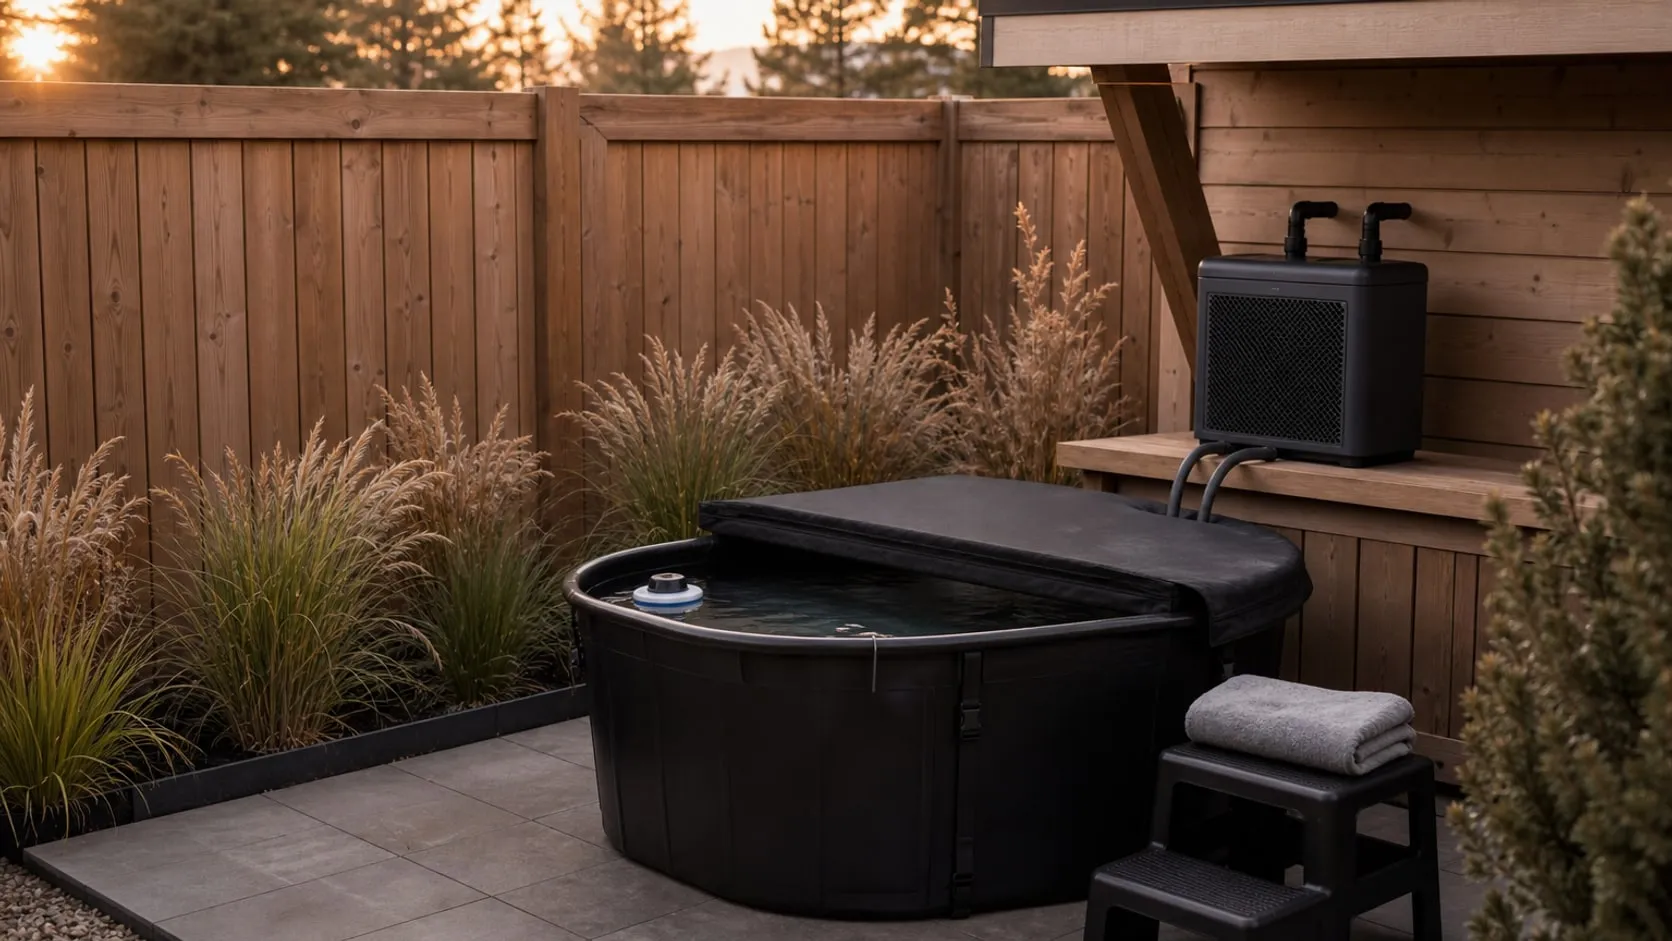
The change is a chiller built for plunge tubs rather than one borrowed from a hydroponics shelf. The Pod Chiller 2.0 has the pump and a 20-micron filter inside the box, so there is no separate pump to buy and no filter housing to screw to a wall. The title gives 145 GPH (about 550 L/h) of circulation and a low end of 37 °F (3 °C), the temperature is set from a phone app, and the installation, per the listing, is two hoses and a standard 120 V outlet. Two filter cartridges come in the box. The listing names indoor and outdoor setups.
What the listing does not say is just as useful to know before you order. There is no gallon rating, no horsepower and no power draw, so how long a fresh fill takes to come down to temperature is a question for the manual, not a number anyone can promise. Hoses are mentioned in the setup bullet but not in the list of included parts, so check what ships. And if your tub has no chiller ports – many inflatable tubs do not – the hoses go over the rim and the lid rests on them. That works; it just leaves a small gap.
- Stand the chiller on a dry, level spot beside the tub where splashes do not reach, with free air around its grilles. It moves the heat it takes out of the water into the room, which in a garage goes unnoticed.
- Pick one temperature and leave it. A common range for home plunges is 50 to 59 °F (10–15 °C); start at the warm end for your first cold-weather season and let the habit, not the number, be the achievement.
- Plan the first plunge for the morning after the first fill. A chiller cools a tub over hours, not minutes, and the listing gives no figure.
- Keep the lid on while it runs. Covered water holds its temperature and puts less moisture into the air.
- If you are choosing a tub to go with it, choose one with chiller ports. The over-the-rim loop is the fallback, not the plan.
After: the water is the same temperature on Tuesday as it was on Sunday, and nobody has carried a bag of ice.
Safety: water and electricity in one corner need a ground-fault circuit interrupter (GFCI) – an outlet or breaker with TEST and RESET buttons, fitted by an electrician if the garage has none. The chiller’s listing does not say whether it may run with someone in the water, so follow the manual, and if the manual is silent, unplug it before you get in. Keep the plug and the cord off the floor and out of splash range, with no extension cords in the wet zone. The listing also says nothing about heating or frost protection: moving water freezes later than still water, but a chiller is not a heater, so when a hard freeze is forecast and the manual does not cover it, move the setup into the garage or drain the tub (Step 2).
Step 2 · Make a water change a ten-minute job
Before: a drain valve that trickles, a tub too heavy to tip, and water that gets changed when it gets embarrassing.
A one-person tub full of water weighs roughly 700 lb (320 kg), and the drain valve on an inflatable tub is sized for a tub that is emptied now and then. The FLUENTPOWER 1/4 HP utility pump is the change: a pump the size of a 2-liter bottle that goes to the tub floor on its own 26 ft (8 m) rope, takes a garden hose on the included 3/4 in adapter and, per the listing, moves up to 1900 GPH (7,190 L/h) through a 1 in hose on a flat run – less through a garden hose and less uphill, by the maker’s own account. It starts in about 6 in (15 cm) of water and pumps down to about 3/5 in (1.5 cm), as listed, so what is left is a sponge’s worth.
It is a manual pump with no float switch, which is the right kind for this job as long as you treat it that way: a water change is ten minutes beside the tub, not ten minutes in the house.
- Unplug the chiller first, lift the lid, take the thermometer out (Step 3) and lower the pump by its rope until it sits flat on the tub floor.
- Run the hose downhill and keep it short. Every foot of lift and every extra coil on the floor costs flow.
- Send the water somewhere that can take it – a lawn, a bed, a floor drain. In freezing weather never onto a walkway or driveway, where it becomes a sheet of ice by morning.
- Stay with it. When the water is down to the last half inch, pull the plug; the tub’s own valve or a sponge takes the rest. Rinse the intake screen before the pump goes back on its hook.
- The listing names clean water only. If your tub’s maker has you add a treatment to the water, ask the pump’s manual before you pump it through.
After: fresh water takes ten minutes and happens on a schedule, not when the walls go slick.
Step 3 · Read the water from the doorway
Before: a hand in the water and a guess, or a trip back inside for a phone to check the chiller’s app.
The chiller’s app shows the set point. The number that matters is the water, and the DeeprBlu floating thermometer shows it in digits big enough to read from the garage door, with a backlight for the mornings when the door is the only light. It is a light-blue float 6.5 in (16.5 cm) long with a solar panel on top and a stem that reads about 5 in (13 cm) below the surface; the listing gives a range of 32 to 158 °F (0–70 °C), an IP68 rating and an accuracy of ±0.5 °F as the maker’s figure, and it ships with a string and one AA battery. It is sold for pools and the listing never mentions cold plunges, but a floating sensor does not care what it floats in.
- Tie it to the rim on the far side from the chiller’s return hose, so it reads the tub and not the freshly chilled stream. If the reading and the app disagree by a degree or two, that is why.
- In a garage the solar panel sees little light. The AA battery is listed as included, but how long it runs on the battery alone is not, so keep a spare with the towels.
- The range stops at 32 °F (0 °C). A reading stuck at the bottom of the range means ice, not a plunge – see the freezing note in Step 1.
- It has no timer. Decide the time before you get in and hang a clock where you can see it from the tub. Thirty seconds to two minutes is a full first plunge, and the cold months are not the time to extend it.
- Lift it out before every water change and set it on the shelf, string and all.
After: you know from the doorway whether the tub is ready, and the plunge starts before the excuses do.
Step 4 · Put the tub on a mat
Before: a dark ring on the garage floor, a puddle where you step out, and a deck board that never dries.
A tub of 50 °F (10 °C) water sweats in damp air the way a cold glass does, and the sweat runs down the wall and under the tub, where nothing dries it. The Drydiet 63 × 40 in mat is a black oval of rubber-backed matting, 63 × 40 in (160 × 102 cm) and 6.6 lb (3 kg), that the listing describes as made for this spot: under a cold plunge tub, to block condensation and keep moisture off wood, tile and outdoor floors. Two stitched outlines on its face show where a round or an oval tub goes, and the long end left over is the step-out strip.
The listing gives no thickness and calls the surface both rubber and water-absorbent, which reads as a fabric face on a rubber back – so it stops water spreading rather than draining it away, and the step-out end needs a wipe after each plunge.
- Lay it before you fill. Sweep the floor, unroll the mat with the round outline toward the wall and the long end toward the door, and stand the tub on the outline. Nobody slides a mat under a full tub.
- The step-out strip is where the first wet foot lands, so the towel and the dry socks go at that end, not across the garage.
- Wipe the strip after every plunge. At each water change, when the tub is empty, lift the mat and let the concrete underneath dry.
- On a deck, the mat keeps the sweat off the boards. Whether the boards can carry 700 lb (320 kg) on a 31 in (80 cm) circle is a question for someone qualified, not for the mat.
- Neoprene socks turn the strip from cold-but-dry into fine. They are the one soft item worth adding to the kit.
After: the floor under the tub is dry, the exit is a mat rather than a puddle, and nothing freezes where you step.
Step 5 · Keep the water clear
Before: water that looks fine on Monday and cloudy by Friday, and a chiller filter nobody has looked at since the box.
The chiller in Step 1 filters as it circulates, and that is what lets the water go weeks between changes instead of days – as long as the cartridge inside is doing its job. The Pod Company replacement filters are the maker’s own: 20-micron pleated paper, 6 in (15 cm) tall and 3 in (7.6 cm) across per the listing, two to a pack, and a drop-in swap with no tools. With the two cartridges that ship with the chiller, that is four – one in the unit, three on the shelf – and a change that happens when it should, not when a delivery arrives.
The listing says they are designed for Pod Company chillers without naming the Chiller 2.0, and it gives the same 3 in figure for the outer and inner diameter, which cannot both be right. Measure the cartridge that came out before you order, and take the change interval from the chiller’s manual; the “up to 7 days” on the listing is a maker’s claim with no conditions attached.
- Rinse off before you get in. What you do not carry into the tub, the cartridge does not have to catch.
- Change the cartridge on a schedule you will keep – at every water change is the easy one – and sooner if the water clouds or the flow from the return hose drops.
- Write the date on the end cap. The chiller will not remind you.
- A cartridge strains the water; it does not sanitize it. Whether your tub takes a sanitizer, and which, is the tub maker’s call and the chiller maker’s – read both manuals before anything but water goes in.
- Change the water at the interval the tub’s maker gives, and sooner if it smells, clouds or the walls feel slick.
After: the water is clear on Friday, and the chiller’s filter is a thing you change, not a thing you discover.
After: the same tub, a different season
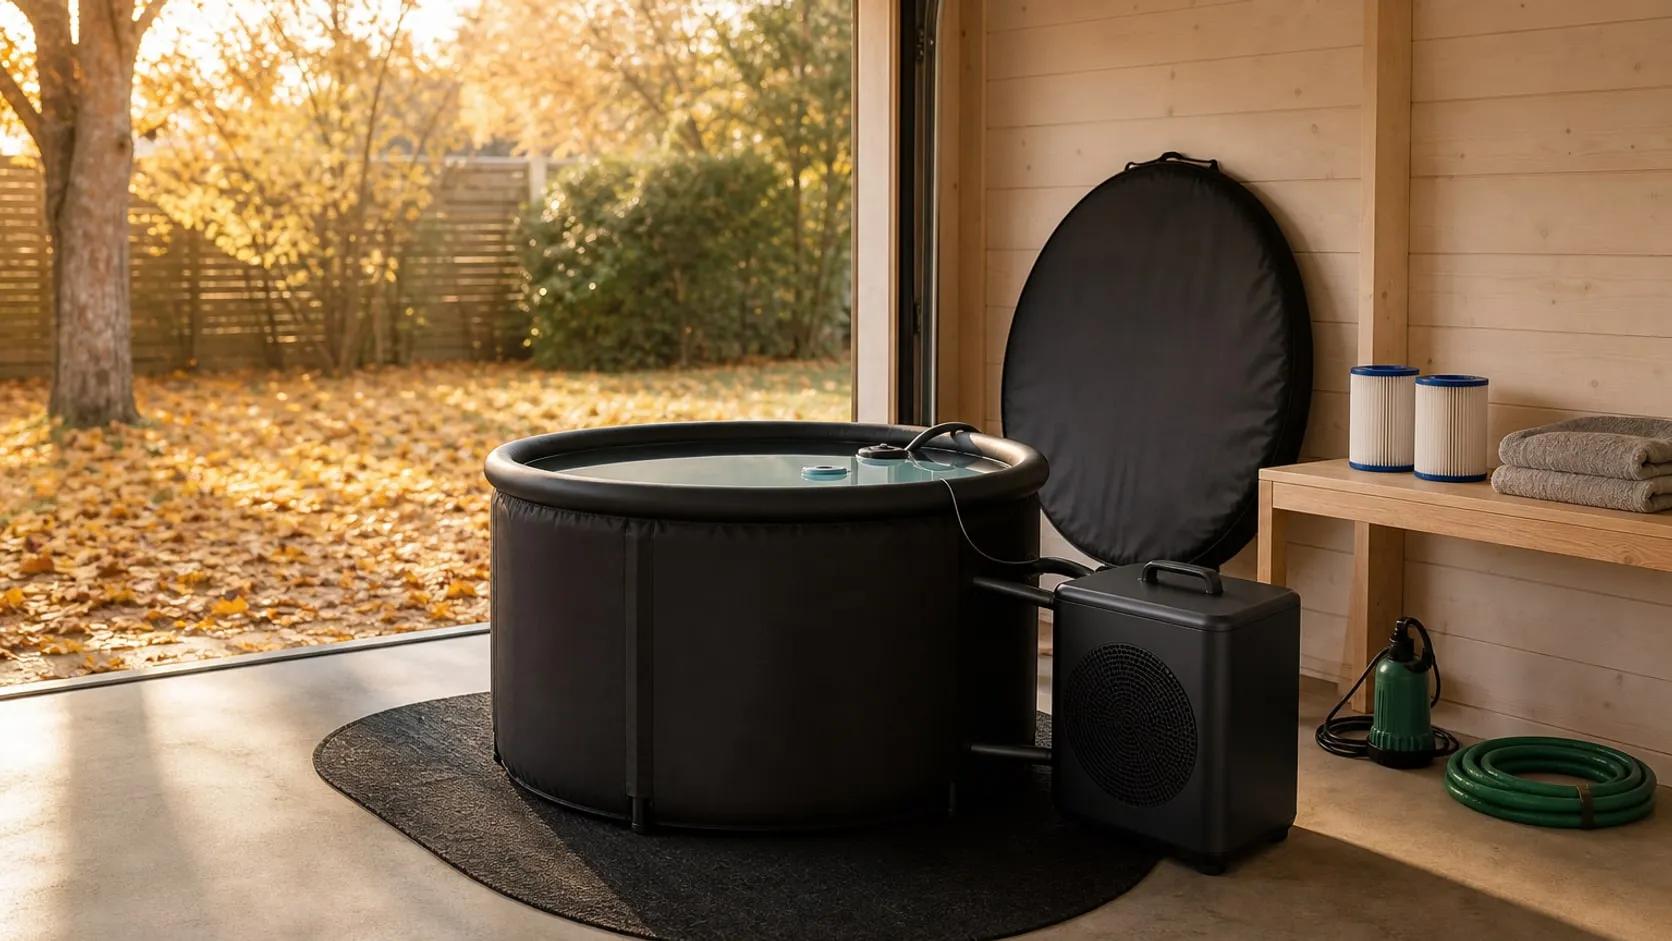
Walk out to the “after” tub in January. The garage door goes up on a yard of frost. The tub stands on its black oval mat with the lid on and two hoses running over the rim to a black box beside it, humming quietly. On the water, when the lid comes off, a light-blue float reads 54 °F. The towel and the neoprene socks are on the step-out end of the mat. The water is clear, and it was changed on Sunday, in ten minutes, through a garden hose to the flower bed.
Nothing has changed about the tub. What has changed is that there is no decision to make: the water is the temperature you set, it is clean, you can read the number from the door, and the floor is dry. So you check the number, pull the chiller’s plug if the manual says so, take the lid off, hold the rim, and get in slowly – head above water, breathing settling over the first half minute, out when the clock says. Lid on, dry hands, plug back in. The whole thing takes less time than the ice run used to.
Safety: cold water makes you gasp and breathe fast for the first seconds – that is normal, and it is why you get in slowly and never alone. Get out at once if you feel dizzy, numb or unwell, and do not plunge after drinking alcohol. If you are pregnant, have a heart condition or high blood pressure, or take medication that affects either, talk to your doctor before you start. Children should not use the tub, and a fabric lid is not a safety barrier: where children or pets can reach it, keep the garage closed or drain the tub.
Keeping the “after”
- Lid on after every plunge, every time. It is the cover this guide did not have to buy.
- Glance at the thermometer and the chiller’s app once a day. If the water creeps up from day to day, check the lid, the hoses and the cartridge before you blame the chiller.
- Change the water at the tub maker’s interval with the pump in Step 2 – never on a day when the runoff will freeze on a path.
- Swap the cartridge at each water change and keep at least one spare.
- Press the GFCI’s TEST button once a month. If it will not trip, or trips on its own more than once, unplug everything and find out why before you reset it again.
- Before a hard freeze that the chiller’s manual does not cover, drain the tub or move it inside. A frozen inflatable tub is a spring purchase, not a winter plunge.
At a glance
5 picks- 01 Amazon
Step 1 · Retire the ice
The Pod Chiller 2.0 for Cold Plunge Tubs – App Control, Cools to 37 °F, 145 GPH Filtration & Circulation - 02 Amazon
Step 2 · Make a water change a ten-minute job
FLUENTPOWER 1/4 HP Utility Pump, 1900 GPH Portable Submersible Sump Pump - 03 Amazon
Step 3 · Read the water from the doorway
DeeprBlu Floating Solar Pool Thermometer with Extra Large Backlit Display - 04 Amazon
Step 4 · Put the tub on a mat
Drydiet 63 x 40 in Heavy Duty Rubber Cold Plunge Tub Floor Mat, Ice Bath Tub Mat - 05 Amazon
Step 5 · Keep the water clear
The Pod Company Chiller Replacement Filters – 2 Pack, 20 Micron Pleated Cartridge, 6 × 3 in
As an Amazon Associate I earn from qualifying purchases. If you buy through a link on this page we may earn a small commission – the price is the same for you. How this works.
01
The Pod Chiller 2.0 for Cold Plunge Tubs – App Control, Cools to 37 °F, 145 GPH Filtration & Circulation
A plunge-made chiller with the pump and filter inside holds the temperature you set, so the tub is ready every morning instead of once a week.
Ice cools a tub once. A chiller holds the temperature you set for as long as it runs, and this one is made for the job rather than borrowed from hydroponics: the pump and a 20-micron filter are inside the black box, the title gives 145 GPH (about 550 L/h) of circulation and a low end of 37 °F (3 °C), and the temperature is set from a phone app. Two hoses to the tub and a standard 120 V outlet are the whole installation, per the listing.
What the listing leaves out matters for planning. There is no gallon rating, no horsepower and no power draw, so how long a fresh fill takes to come down is a question for the manual, and so is the hose size. Hoses appear in the setup bullet but not in the list of included parts. On a tub without ports, they go over the rim and the lid rests on them.
Tip: Set the temperature once and leave it – the app is for checking, not fiddling. A tub that is the same every morning is the one you keep getting into.
02
FLUENTPOWER 1/4 HP Utility Pump, 1900 GPH Portable Submersible Sump Pump
A bottle-sized submersible pump on a rope empties the tub through a garden hose, so fresh water stops being an afternoon.
The drain valve on an inflatable tub is sized for a tub that gets emptied now and then, not for one that gets a fresh fill every few weeks through the winter. This FLUENTPOWER is a 2-liter-bottle-sized submersible pump on a rope: it goes to the tub floor, a garden hose screws onto the included 3/4 in adapter, and the listing gives up to 1900 GPH (7,190 L/h) through a 1 in hose on a flat run – less through a garden hose and less again uphill, by the maker’s own account.
It is a manual pump. Nothing switches it off when the water is gone, so a water change is ten minutes spent beside the tub, not ten minutes elsewhere: lower it in, plug it in, watch, and pull the plug when the water drops to the last half inch. The intake screen comes off for rinsing. The listing names clean water only.
Tip: Run the hose downhill and keep it short – every foot of lift and every extra coil on the floor costs flow.
03
DeeprBlu Floating Solar Pool Thermometer with Extra Large Backlit Display
Big backlit digits on a float replace a hand in the water and a guess on a dark morning.
The chiller’s app shows the set point; this shows the tub. The DeeprBlu is a light-blue float 6.5 in (16.5 cm) long with a square solar panel on top, a large LCD on the front and a white stem that reads the water about 5 in (13 cm) down. The listing gives a range of 32 to 158 °F (0–70 °C), an accuracy of ±0.5 °F as the maker’s figure, an IP68 rating and a backlight, and it ships with a string and one AA battery.
It is sold for pools, and cold plunges are not named anywhere on the listing, but the range covers them and a floating sensor does not care what it floats in. The two things it does not do are keep time and send the reading indoors. Tie it to the rim on the far side from the chiller’s return hose, so it reads the tub and not the freshly chilled stream.
Tip: In a garage the solar panel sees little light, so keep a spare AA battery with the towels – the listing does not say how long it runs on the battery alone.
04
Drydiet 63 x 40 in Heavy Duty Rubber Cold Plunge Tub Floor Mat, Ice Bath Tub Mat
A 63-inch oval mat under the tub catches the sweat of a cold wall and gives wet feet a dry strip to land on.
A tub full of 50 °F (10 °C) water sweats in damp air the way a cold glass does, and the sweat runs down the wall and pools under the tub. This Drydiet mat is a black oval of rubber-backed matting, 63 × 40 in (160 × 102 cm), made for exactly that spot: the listing names condensation under cold plunge tubs and moisture on wood, tile and outdoor floors as the things it is there to stop. Two stitched outlines on the face show where a round or an oval tub goes, and the rest is a dry strip to step out onto.
It is flat, so water that lands on it stays on it until it is wiped, and the listing gives no thickness. The surface is described as both rubber and water-absorbent, which reads as a fabric face on a rubber back. Lay it before the tub is filled: a full one-person tub is several hundred pounds, and nobody lifts it to slide a mat underneath.
Tip: Put the tub on the round outline at one end and leave the long end toward the door, so the step-out strip is where your first wet foot lands.
05
The Pod Company Chiller Replacement Filters – 2 Pack, 20 Micron Pleated Cartridge, 6 × 3 in
Two spare 20-micron cartridges mean the chiller's filter gets changed on time, which is what keeps the "after" from sliding back.
A chiller with a filter inside is only as good as the cartridge in it, and the cartridge is the part everyone forgets until the water goes cloudy. These are The Pod Company’s own replacements: 20-micron pleated paper, 6 in (15 cm) tall and 3 in (7.6 cm) across per the listing, two to a pack, and a drop-in swap with no tools. The chiller ships with two cartridges of its own, so a pack on the shelf means a change is never waiting on a delivery.
The listing says they are designed for Pod Company chillers and may fit others only if the size matches – and it gives the same 3 in figure for the outer and the inner diameter, which cannot both be true. Measure the cartridge that came out before you order, and read the chiller’s manual for the change interval; the listing’s own “up to 7 days” is a maker’s claim with no conditions attached.
Tip: Write the date on the blue end cap with a marker when a new cartridge goes in – the chiller will not remind you.