Backyard Contrast-Circuit: Sauna Then Cold Plunge For Fall Evenings
A six-step fire-and-ice circuit for fall evenings – steam tent, cold tub, ice, a timer, safe steps and a warm robe – set up in the backyard, safety first.
Published October 6, 2026 · 6 picks
Heat, cold, rest, repeat. Spas call it a hydrothermal or “fire-and-ice” circuit, and a fall evening is the easiest time of year to build a small one at home: the air is crisp, the hose water runs cool and it gets dark early enough to make a lantern worth lighting. The six steps below set up a circuit around one steam tent and one cold tub, in the order you would do them on the day.
Many people use a contrast circuit to wind down or to round off a workout. It is also a real load on the body, so the safety notes belong to the setup as much as the gear does.
Step 1 · Set up the heat under cover
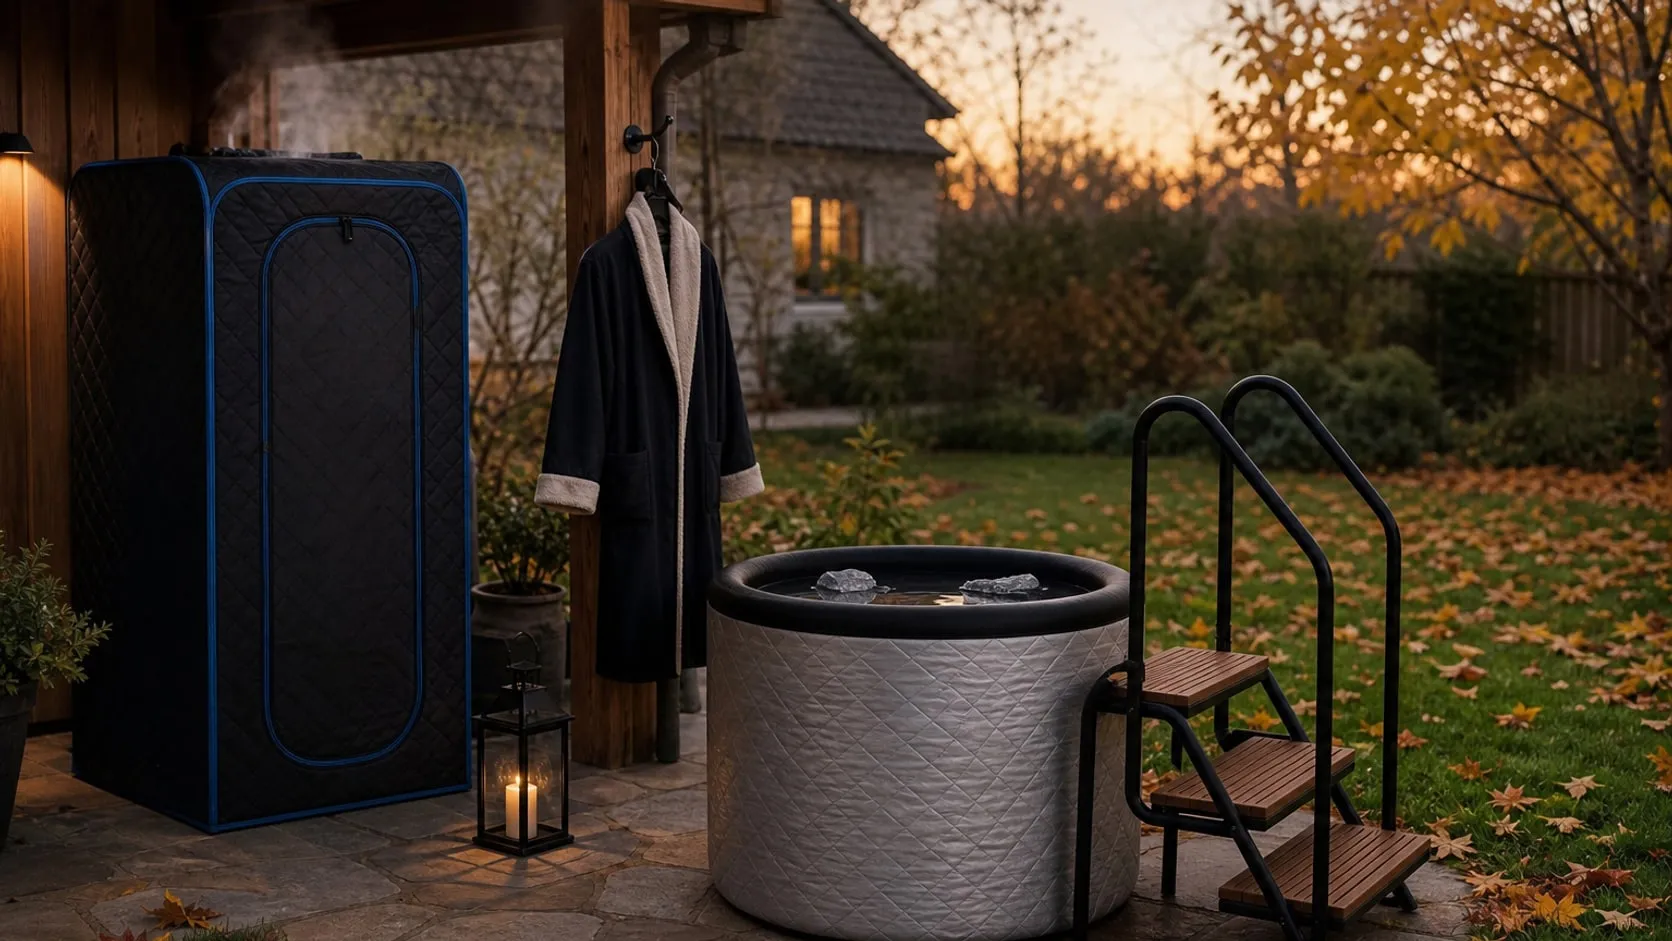
The warm half comes first because it takes the longest to get ready. A portable steam tent such as the SereneLife Portable Steam Sauna Tent is a zip-up cabin about 35 in (89 cm) square, with a folding chair inside and a separate 1600 W steamer that feeds it through a hose. The listing gives a top temperature of 122 °F (50 °C) – humid warmth rather than Finnish heat, and enough to make the cold tub feel like a real change.
The listing describes it as an in-home sauna and gives no weather rating, so “backyard” here means under a roof: a covered porch, an open garage or a room by the back door, a few steps from the tub.
- Stand the tent on a dry, level floor, out of wind and rain.
- Put the steamer on a flat surface beside it, with the hose where nobody will trip over it.
- Start it while you set up the rest, and follow the manual for filling and preheating.
Safety: the steamer is a mains appliance. Plug it straight into a GFCI-protected outlet, keep it and its cord dry and well away from the tub, and never touch the plug with wet hands. At 1600 W it draws about 13 amps – most of a standard 15-amp household circuit – so nothing else heavy should share that circuit.
Step 2 · Place and fill the cold tub
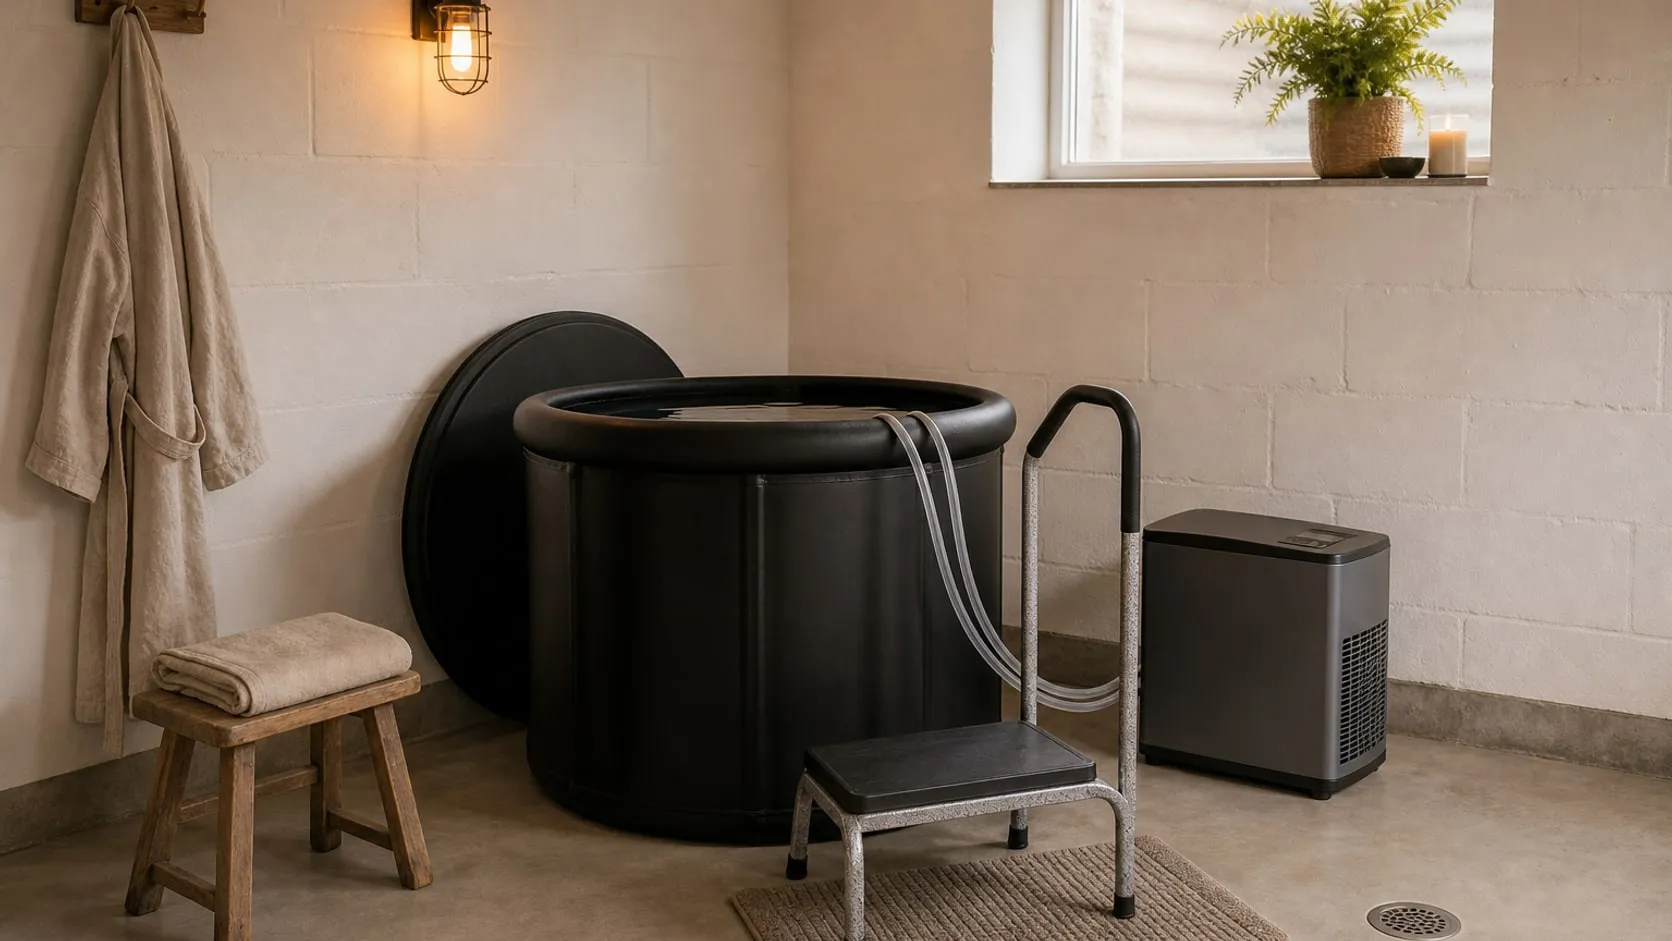
A barrel-style tub keeps the cold half small. The Cold Pod is 29.5 in (75 cm) across and just as tall, holds 85 gal (322 L) per the listing, and goes up without tools: legs into their pockets, then the hand pump for the top ring. This bundle wraps the tub in an insulated cover with a zip-up lid.
- Choose level, solid ground – pavers, a concrete pad or a ground-level patio. A full tub is about 710 lb (322 kg) of water before anyone gets in, so check what a raised deck or balcony can carry first.
- Keep it a few steps from the tent: close enough to cross in seconds, far enough that splashes never reach the steamer.
- Fill it from the garden hose to about two-thirds. Your body takes up a lot of room in a tub this narrow, and the ice adds more.
- Point the drain hose toward a spot that can take the water.
The tub has no filter. Rinse off before you get in, zip the lid on between evenings and change the water regularly, or follow the maker’s water-care instructions.
Step 3 · Chill the water
Fall does part of the work: in cooler regions the hose water already runs cold, and the night air does not fight the ice the way July does. The rest is planning, because ice has to be made the day before. The DOGITY ice block molds make four blocks of about 8 lb (3.6 kg) each, and the maker gives 12 to 24 hours in the freezer.
- Add the blocks 20 to 30 minutes before the first round and stir the water once or twice.
- As a rough guide from physics, 32 lb (14.5 kg) of ice takes about 75 gal (284 L) of water down by 8 to 10 °F (4–5 °C). Hose water at 62 °F (17 °C) lands in the low 50s (around 11–12 °C).
- Refill the molds as soon as they are empty and put them back in the freezer for the next evening.
The Cold Pod also has inlet and outlet ports for a chiller, which is the upgrade if making ice turns into a chore. For a handful of fall evenings, blocks do the job.
Step 4 · Check the temperature and set the timer
Guessing by hand does not work – cold water all feels the same after a few seconds. Float a thermometer in the tub instead. The Suoimk ice bath thermometer shows the temperature above a timer that sets up to 20 minutes, and the maker says the reading settles about a minute after it goes in.
- Stir before you read. Melting ice leaves cold and warm layers.
- A common range for home plunges is about 50 to 59 °F (10–15 °C). Colder is not better, least of all in your first season.
- Set the timer before you get in. Thirty seconds to two minutes is a full first plunge; regulars often stay two to three.
Safety: cold water makes you gasp and breathe fast for the first seconds. Get in slowly, keep your head above water and wait for your breathing to settle. Never plunge alone or after drinking alcohol, and get out right away if you feel dizzy, numb or unwell.
Step 5 · Step in and out safely
The riskiest moment of the circuit is not the cold. It is crossing a 29.5 in (75 cm) wall with wet feet in the dark, and crossing it again with cold legs. The inflatable top ring of a portable tub is not a handhold; a step with rails is. The VEVOR 3-step has 25.2 in (64 cm) wide treads, a handrail on each side and a listed capacity of 550 lb (249 kg).
- Set it on the same level ground as the tub, snug against the wall, and check that it does not rock.
- Hold the rails, not the tub. Step over and lower yourself in – no jumping.
- Keep one light on the steps all evening and a mat or towel at the foot.
- Sweep the path between tent and tub before you start. Wet leaves are as slippery as ice.
Step 6 · Wrap up and rest
What happens after the cold matters as much as the cold itself. Hang a robe within reach of the steps before the first round. A changing robe like the Hiturbo swim parka pairs a shell the listing describes as waterproof and windproof with a sherpa lining and a hood, and it is cut wide enough to pull on over wet skin or swimwear.
- Pat dry, zip up, step into dry sandals and sit down.
- Have water or something warm to drink within reach.
- Give yourself a few quiet minutes before the next round. If you are shivering hard, you are done for the night – go indoors and warm up.
Run the circuit
One round is heat, cold, rest:
- Heat – 10 to 15 minutes in the tent. Leave earlier if it stops feeling good.
- Cold – 30 seconds to 2 minutes in the tub, with the timer running.
- Rest – about 10 minutes in the robe, sitting down.
Two or three rounds make an evening. There is no prize for more, for colder or for longer.
Safety: a contrast circuit is not for everyone. If you are pregnant, have a heart condition or high blood pressure, or take medication that affects either, talk to your doctor before you try it. Children should not use the steam tent or the cold tub, and need an adult beside them anywhere near the water.
Close the night
Zip the lid on the tub to keep leaves out and the cold in. A fabric lid is not a safety barrier, though: where children or pets can reach the yard, drain the tub or lock the gate. Switch off and unplug the steamer, let it cool, empty it and leave the tent unzipped to dry. Bring the thermometer inside, hang the robe on a hook and put the refilled molds back in the freezer – the next clear evening, the circuit is ready when the steamer is.
At a glance
6 picks- 01 Amazon
Step 1 · Set up the heat
SereneLife Portable Steam Sauna Tent with 4L Steamer and Folding Chair (1 Person) - 02 Amazon
Step 2 · Fill the cold tub
The Cold Pod Cold Plunge Tub, 85 Gal Round Tub with Full-Wrap Insulation Cover - 03 Amazon
Step 3 · Chill the water
DOGITY Extra Large Ice Block Molds 4 Pack 32LB for Cold Plunge Tub - 04 Amazon
Step 4 · Check the temperature
Suoimk Silicone Cover Ice Bath Thermometer with Timer, Floating (Black) - 05 Amazon
Step 5 · Step in safely
VEVOR Hot Tub Steps with Handrail, 3-Step, 25.2 in Wide - 06 Amazon
Step 6 · Wrap up and rest
Hiturbo Warm Waterproof Swim Parka, Windproof Hooded Changing Robe (Black)
As an Amazon Associate I earn from qualifying purchases. If you buy through a link on this page we may earn a small commission – the price is the same for you. How this works.
01
SereneLife Portable Steam Sauna Tent with 4L Steamer and Folding Chair (1 Person)
A zip-up steam tent with its own 4 L steamer supplies the warm half of the circuit from a covered porch or garage.
A contrast circuit needs a warm room more than a fierce one, and a steam tent is the simplest way to get it without building anything. This one is a zip-up fabric cabin about 35 in (89 cm) square and 71 in (180 cm) tall, with a folding chair inside and a separate 1600 W steamer that feeds it through a hose. The remote sets nine heat levels and a timer of up to 60 minutes.
The listing gives a top temperature of 122 °F (50 °C), so expect humid warmth rather than Finnish heat. It is also described as an in-home sauna with no weather rating: in a backyard setup it belongs on a covered porch, in a garage or in a room by the back door, with the steamer on a dry, level surface.
Tip: Plug the steamer straight into a GFCI-protected outlet and keep it and its cord well away from the cold tub – steam goes in the tent, splashes stay at the tub.
02
The Cold Pod Cold Plunge Tub, 85 Gal Round Tub with Full-Wrap Insulation Cover
An upright 85-gallon barrel in an insulated jacket puts neck-deep cold water on a patio corner.
A cold tub does not need to be big, it needs to be deep. The Cold Pod is a round, upright tub 29.5 in (75 cm) across and just as tall, holding 85 gal (322 L) per the listing – enough to sit in water up to the neck. It goes up without tools: support legs slide into pockets around the wall and a hand pump inflates the top ring. The maker puts setup at about three minutes and filling at about ten.
This bundle adds a full-wrap insulated cover with a zip-up lid, which is what makes it practical outdoors in fall: leaves stay out and ice lasts longer. There is no filter, so plan on changing the water regularly, and remember the weight – a full tub is about 710 lb (322 kg) of water before anyone gets in.
Tip: Stand it on level, solid ground and fill it only about two-thirds – your body and the ice take up the rest.
03
DOGITY Extra Large Ice Block Molds 4 Pack 32LB for Cold Plunge Tub
Four 8 lb blocks frozen the day before bring cool hose water down to plunge temperature without a chiller.
Without a chiller, ice is how a cold tub gets cold, and a few big blocks do the job with less fuss than bags of cubes. These four silicone molds each make a block of about 8 lb (3.6 kg) – roughly a gallon of water – for 32 lb (14.5 kg) of ice per freeze. The maker gives 12 to 24 hours in the freezer.
The listing’s dimension field is clearly wrong and no lids are shown, so two things are worth checking before you rely on them: that four molds fit your freezer, and that they sit level while they freeze. The brand is not a well-known one.
Tip: Fill the molds the evening before and refill them as soon as the blocks go into the tub – then the next plunge is always one freeze away.
04
Suoimk Silicone Cover Ice Bath Thermometer with Timer, Floating (Black)
A floating display shows the water temperature and times the plunge, so neither is left to guesswork.
Cold water all feels the same to a hand after a few seconds, which is why a cold tub needs a thermometer. This one is a floating disc about 2.8 in (7.1 cm) across with the temperature on the top line of the display and a timer below it. The timer sets up to 20 minutes, and the maker says a reading settles about a minute after the unit goes into the water.
The stated rating is IPX6, so treat it as a floater rather than a diving instrument, and as a guide rather than a lab thermometer – no accuracy figure is given. It runs on one CR2032 coin cell, which is included.
Tip: Stir the water before you read it – melting ice leaves cold and warm layers, and the thermometer only knows the one it floats in.
05
VEVOR Hot Tub Steps with Handrail, 3-Step, 25.2 in Wide
Three wide treads and a rail for each hand make a tall, soft-sided tub safe to climb with wet feet.
Portable cold tubs are tall and soft-sided, which makes getting in the awkward part: there is a high wall to cross and nothing firm to hold. This VEVOR step answers both. It has three slatted treads 25.2 in (64 cm) wide and a handrail on each side that rises to about 53 in (134 cm), with a listed capacity of 550 lb (249 kg).
It is a substantial piece – about 39 × 30 in (99 × 76 cm) on the ground and 30.2 lb (13.7 kg) – and the maker sizes it for square tubs, so it will not sit flush against a round one. The listing leaves out the step heights; measure your tub wall and compare before relying on it.
Tip: Set it on the same level ground as the tub and test it for rocking before the first round – then hold the rail, never the tub’s inflatable rim.
06
Hiturbo Warm Waterproof Swim Parka, Windproof Hooded Changing Robe (Black)
A sherpa-lined hooded robe within reach of the steps turns the walk back from the cold into the best part.
The minutes after a cold plunge decide whether the evening feels good, and a towel alone does little against October air. A changing robe is the outdoor answer: this Hiturbo parka pairs a recycled-polyester shell, described on the listing as waterproof and windproof, with a sherpa lining and a hood. It is cut oversized – 43 × 31.5 in (110 × 80 cm) in its single size – so it goes on over wet skin or swimwear.
One size means the fit is a compromise at both ends of the height range, and the listing asks for hang drying, so give it a night on a hook before the next use.
Tip: Hang it within arm’s reach of the tub steps before the first round – the walk to a robe left indoors is the coldest part of the night.